Settings
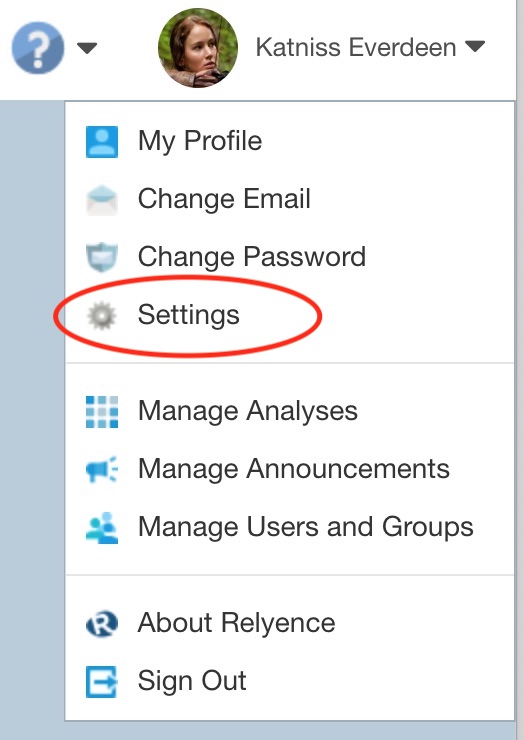
Settings allows you to configure options that apply to all Relyence Products. To view the available optional settings, click Settings from the Account Management dropdown menu in the upper right corner of the Relyence Header Bar.
The Settings dialog appears.
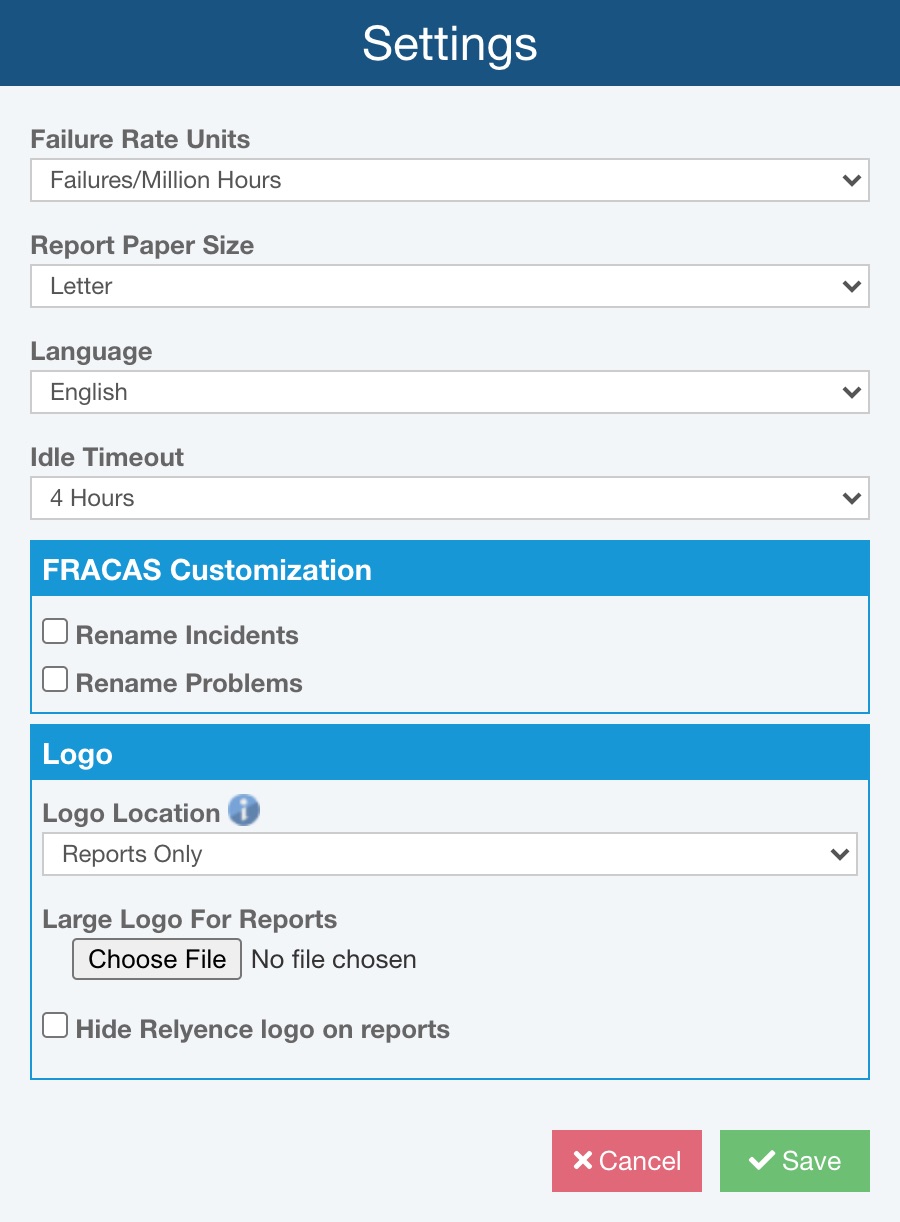
Failure Rate Units
The Failure Rate Units setting defines the units of measure used for failure rates across all Relyence Products. For example, Relyence Reliability Prediction computes failure rates, which can be expressed in a variety of units. Commonly used failure rate units are Failures per Million Hours, or FPMH, and Failures per Billion Hours, or FITs.
To select the failure rate unit you prefer, select from the dropdown list in the Failure Rate Units field. You can select from the most commonly used time-based measurements: Failures/Hour, Failures/Hundred Hours, Failures/Thousand Hours, Failures/Ten Thousand Hours, Failures/Hundred Thousand Hours, Failures/Million Hours, or Failures/Billion Hours (commonly referred to as FITs); or calendar-based units of Failures/Day, Failures/Month, Failures/Quarter, or Failures/Year.
Any time you see a failure rate value displayed in Relyence, it will be shown in the selected failure rate units.
The default setting is Failures/Million Hours.
Report Paper Size
Select from the available choices for your Report Paper Size: Letter, Legal, A4, or A3. The default setting is Letter.
Language
The Language option allows you to select the language Relyence uses. You can select English or Chinese.
Idle Timeout
The Idle Timeout option allows you to select the length of time after which an inactive user will be automatically signed out of Relyence. If a user is signed in to Relyence but does not perform any actions within the time frame of the idle timeout setting, that user will be automatically signed out.
You can select from 10 Minutes, 15 Minutes, 20 Minutes, 30 Minutes, 1 Hour, 2 Hours, 4 Hours, 8 Hours, 1 Day, or None. The default setting is 30 Minutes. If None is selected, users will never be signed out.
The idle timeout is used to preserve the number of available Relyence licenses. For example, if you have purchased 5 Relyence licenses, and 5 people are signed in, the sixth attempt to sign in will fail until one of the 5 active users signs out. The idle timeout allows you to reclaim licenses of users who are signed in, but not actively using Relyence.
If a user is signed in, but has unsaved changes, the idle timeout will not be enforced. A user will only be signed out if they are inactive and have no pending data modifications.
Use online Help
(Note: Appears only for on-premise installations.)
By default, Relyence will use the online version of Help. The advantage of using the online version is that is will always be up to date and you do not have to install and manage an on-premise version. However, if you do not have an Internet connection, you will need to install the Help on your own server and clear the Use online Help checkbox to access your local installation.
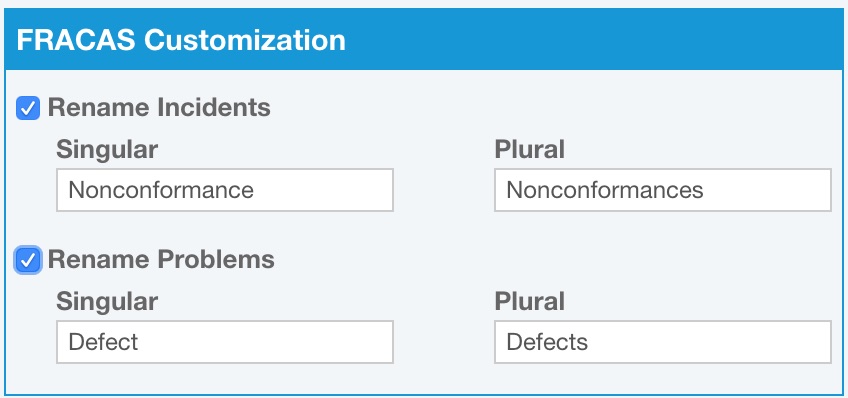
FRACAS Customization
Relyence FRACAS provides the option to rename two of its main data elements, Incidents and Problems. If you prefer an alternate naming convention for Incidents and/or Problems, select the Rename Incidents and/or Rename Problems checkboxes and enter the terms you prefer.
Note that customizing the naming convention for Incidents and Problems here applies for all Analyses in Relyence. If you prefer to customize the naming convention for Incidents and Problems for individual Analyses, you can do so via the FRACAS Properties. See FRACAS Properties for further details.
Logo
You may upload images to use on your Relyence text-based reports and also in the Sidebar menu. You may use your company logo, or any other image you desire.
In the Logo Location field, select from Reports Only or Reports and Sidebar depending upon where you want your image to appear. The default selection is Reports Only.
If you choose to display your image in the Sidebar, you can upload two images: one for when the Sidebar is expanded (also used for reports), and one for when the Sidebar is collapsed. For example, you can see that Relyence uses our large logo for the expanded Sidebar but uses our smaller icon image for the collapsed Sidebar.
To upload an image, click Choose File and navigate to the location of your image and select the image to upload. Your image must be less than 1MB in size. Once an image is uploaded, if you want to delete it, click Remove Logo.
The uploaded image will appear in the upper left corner in the header of your text reports. Note that the logo will not appear on diagram reports such as Fault Tree graphical diagram, RBD graphical diagram, and Analysis Diagram graphical reports.
If you see an image displayed in the Settings dialog, it will automatically appear in your reports and/or Sidebar. If no image is displayed, the default Relyence logos will be used in the Sidebar, and no image will appear upper left corner of your reports.
You can also upload your logo for on-premise installations for display on Sign In. Your Relyence Administrator can add your image to your web.config file. Add this line to the web.config file where the connection string for your database is located:
<add key="customLogo" value="" />
Copy and paste a base64 converted version of your logo in the value parameter.
By default, the Relyence logo appears in the top right corner of reports. Licensed users may choose to exclude the Relyence logo from reports by selecting Hide Relyence logo on reports or to include the Relyence logo on reports by clearing Hide Relyence logo on reports (the default).