Configuring FMEA Flow Down
Note that FMEA Data Autoflow Down is supported within both Analyses and Knowledge Banks.
In order to configure Flow Down for your FMEA, from the Sidebar menu, click Configure>FMEA>Autoflow.
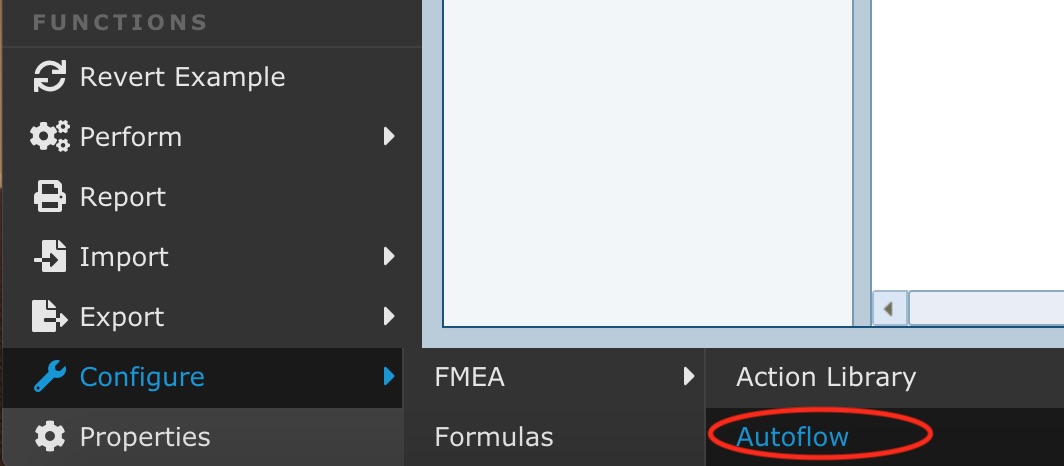
The Autoflow dialog appears.
If Flow Down is not yet configured, you will see "Click here to configure FMEA data to flow down." Click Got it!.
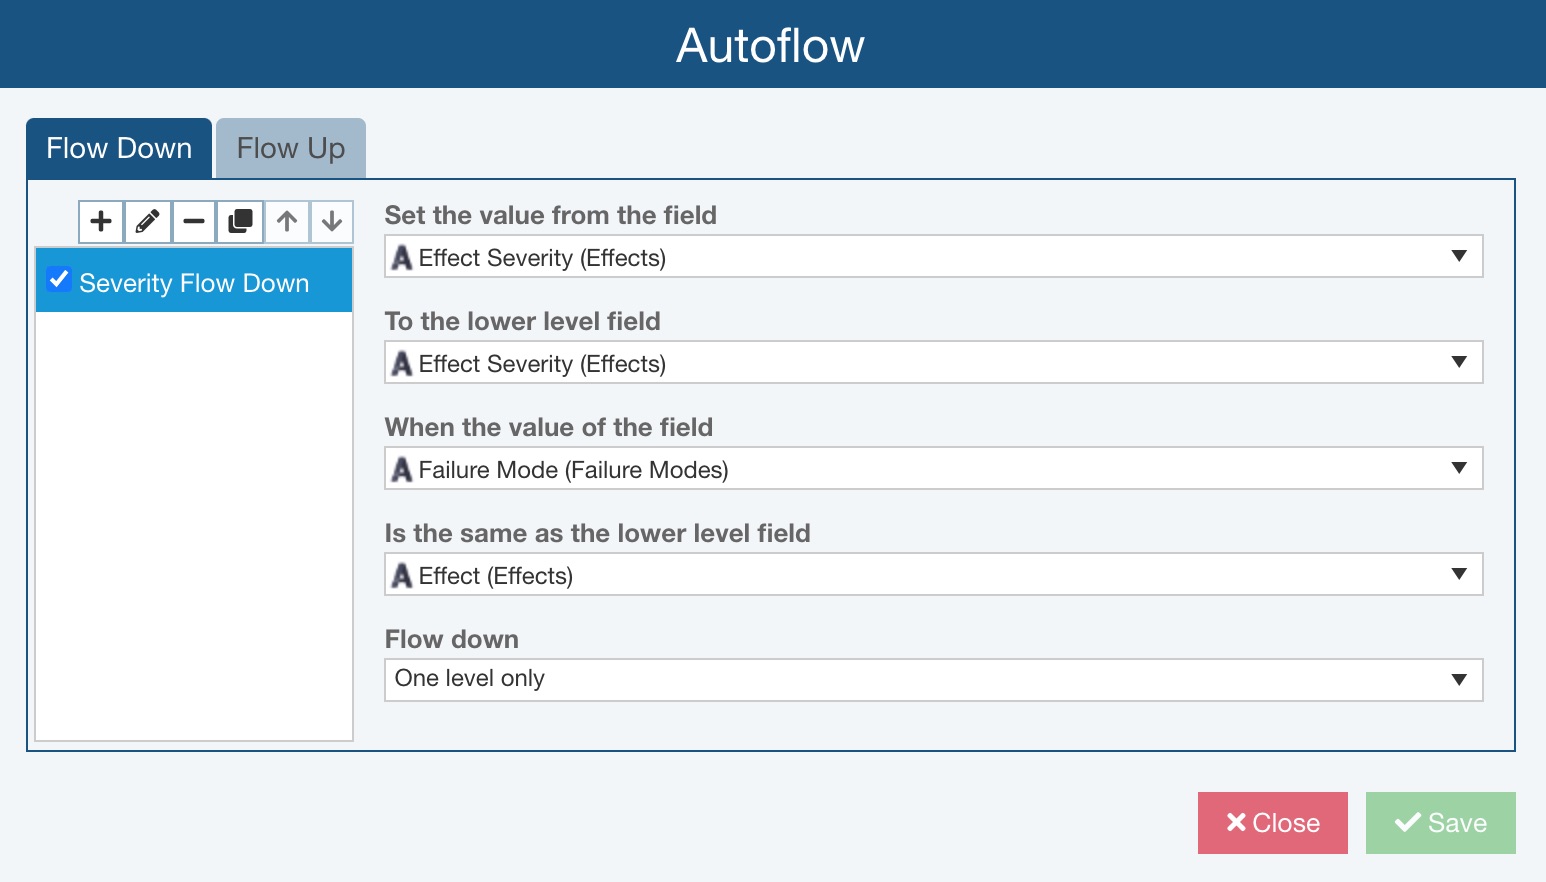
The toolbar buttons on the Flow Down tab of the Autoflow dialog are used to manage your Flow Down rules.

To add a new Flow Down rule, click the plus (+) icon. To edit an existing Flow Down rule, select it from the list and click the pencil icon. To delete a Flow Down rule, select it from the list and click the minus (-) icon. To make a copy of a Flow Down rule, select it from the list and click the copy icon.
Use the up and down arrow icons to rearrange the order of your Flow Down rules.
Flow Down rules are completed in the order they are listed. This allows you to cascade Flow Down rules together, so the results of one Flow Down rule can be used in another. Otherwise, the order of the Flow Down rules in this list is not important.
To add a new Flow Down rule, on the Flow Down tab in the Autoflow dialog and click plus (+) icon (Add button).

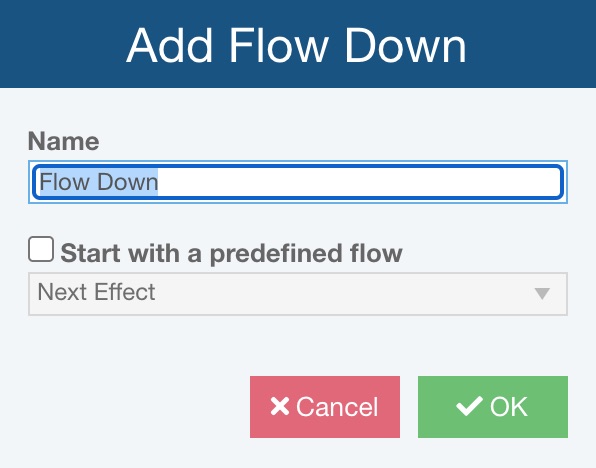
The Add Flow Down dialog appears.
If this is the first Flow Down rule to be added, a pop up appears indicating that you can start with a predefined Relyence flow, and then customize it to meet your needs. Click Got it!. Note that Start with a predefined flow will be checked on by default in this case.
On the Add Flow Down dialog, enter the Name for the Flow Down rule.
If you wish to start with a predefined flow, make sure Start with a predefined flow is checked. If you wish to define your own Flow Down rule, make sure Start with a predefined flow is cleared.
When Start with a predefined flow is checked, use the choicelist field below to select one of the Relyence FMEA Predefined Flows. Available options include:
- Next Effect - The Local Effect flows down to become the Next Effect at the lower level when the Failure Mode matches the lower level Local Effect.
- End Effect - The Local Effect flows down from the highest level to become the End Effect at all lower levels when the Failure Mode matches the lower level Local Effect.
- Severity - The maximum Effect Severity flows down to become the Effect Severity at the lower level when the Failure Mode matches the lower level Local Effect.
- Occurrence - The Occurrence flows down to become the Occurrence at all lower levels when the Cause matches the lower level Cause.
- Detection - The Detection flows down to become the Detection at all lower levels when the Cause matches the lower level Cause.
Once selected, click OK.
Flow Down rule details will be shown on the right side of the dialog.
If you cleared Start with a predefined flow, you can define the following fields to your specifications:
- Set the value from the field - Choose the source field that will be used for the Flow Down rule.
- To the lower level field - Choose the destination field that will be defined by the Flow Down rule.
- When the value of the field - Choose the first part of the criteria that must be met for the Flow Down rule to set the destination field.
- Is the same as the lower level field - Choose the second part of the criteria the must be met for the Flow Down rule to set the destination field.
- Flow down - Choose if the Flow Down rule will propagate one level down or down the whole Branch.
Enabling and Disabling FMEA Flow Down
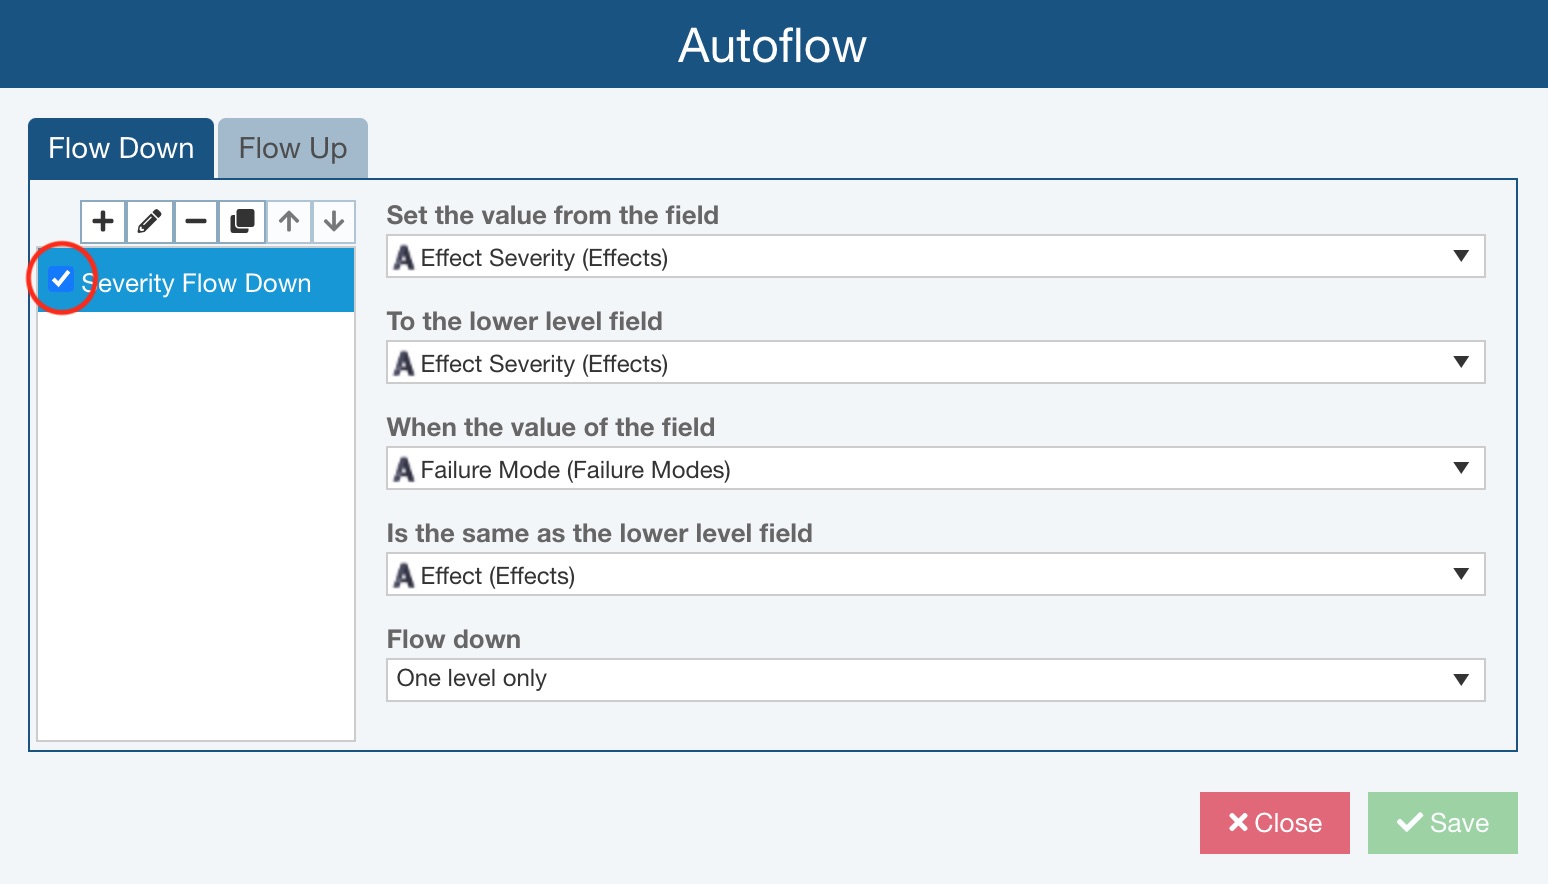
You can also enable and disable your Flow Down rules. If you want to disable a Flow Down rule, clear the checkbox next to the name.
When you perform the Flow Down operation, only your enabled Flow Down rules will be used.