The Relyence On-Premise Solution
If your Relyence On-Premise Solution is already installed and setup by you or your Relyence Administrator, go to Signing in to the Relyence On-Premise Solution.
To install and setup the Relyence On-Premise Solution, follow the instructions in the Installing and Setting Up the Relyence On-Premise Solution.
To upgrade an existing Relyence On-Premise Solution installation, follow the instructions in Upgrading the Relyence On-Premise Solution.
Signing in to the Relyence On-Premise Solution
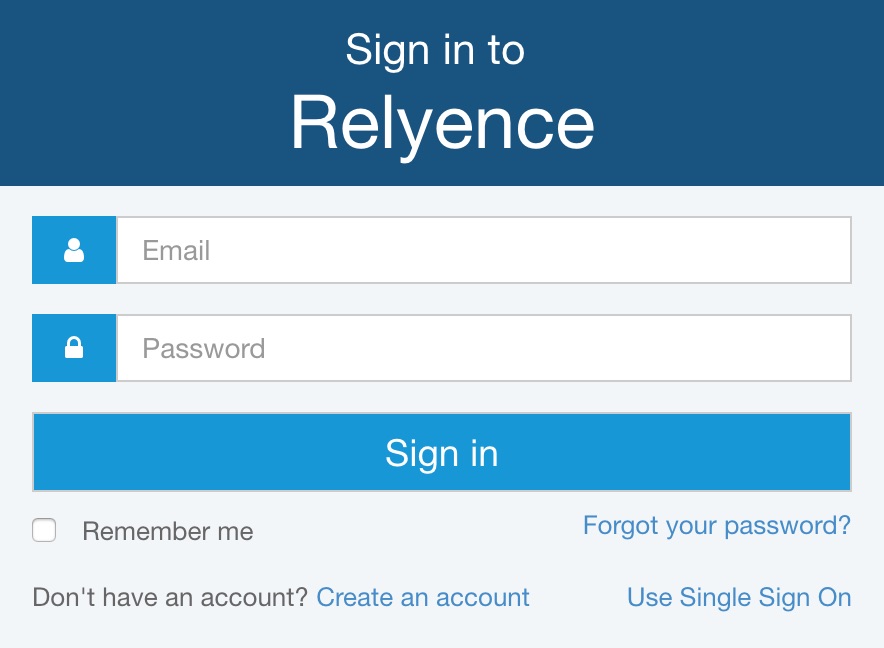
To sign in to the Relyence On-Premise solution, navigate in your browser to the location of your Relyence installation (typically http://<yourservername>/Relyence). The Sign in dialog appears.
If you are a new Relyence user, your Relyence Administrator may have given you a password. If not, you will have received an email with instructions on how to set your password, and you will need to do this before you can use Relyence. You can change your password, or any of your profile information, at any time by using the account functions, see the Your Account topic for details.
To sign in to Relyence, enter your email address and password and click Sign In. If you want your sign in information to be remembered so you do not need to enter it every time you access Relyence, select the Remember me checkbox.
If your organization has enabled the ability to use Single Sign On with Relyence, click Use Single Sign On to Sign in. For more details about Single Sign On with Relyence, see Setting up Single Sign On.
Installing and Setting Up the Relyence On-Premise Solution
This section is for Relyence Administrators or single users of Relyence On-Premise.
Before installing Relyence On-Premise, be sure your system meets the following requirements:
- 2.5 GHz 4 core CPU or greater
- 4 GB memory or greater
- 250 GB hard drive or greater
- 64-bit Windows OS, 7 SP1 or greater with IIS installed and ASP.NET enabled
There are two parts to setting up Relyence On-Premise, each with several steps. Below is an overview list of the steps, details for each step can be found in the following sections on by clicking on the links.
1. Installing Relyence On-Premise:
1.1 If not already done on your system, install IIS (Internet Information Service) and enable ASP.NET and WebSocket Protocol.
 Installing IIS requires an Internet connection. Please connect to the Internet, and then install IIS. After IIS installation is complete, you can disconnect from the Internet.
1.2. Install Relyence.
1.3. If you are using your own installed version of Microsoft SQL Server and not the one installed by Relyence, update the Web.config file.
1.4. If you are planning to use Relyence FRACAS Notifications, enable Relyence to always run.
1.5 If you are using Windows 7, reinstall ASP.NET.
1.6 If you are using Windows 8 or Windows 10, enable WebSocket Protocol.
2. Setting up Relyence On-Premise:
2.1. Start up Relyence.
2.2. Activate your Relyence License.
2.3 Recycle the Relyence Application Pool.
2.4 If you are planning to use Relyence emailing features, configure your mail server.
2.5. Add in your team members.
1. Installing Relyence On-Premise
The Relyence On-Premise installation will install both the Relyence application and Microsoft SQL Server Express onto your computer.
If you already have Microsoft SQL Server and would like to use your SQL Server installation instead, please contact us. We will provide a different installation file that does not install Microsoft SQL Server. With this installation, double click on the executable to begin the installation process.
1.1 Install IIS (Internet Information Services) and enable ASP.NET and WebSocket Protocol
If IIS is already installed and ASP.NET enabled, skip this step. An Internet connection is required for this step.
To install IIS and enable ASP.NET on Windows Server 2016, 2012, or 2008:
1. In Server Manager, click Add roles and features. This will start up the Add Roles and Features Wizard.
2. In the Add Roles and Features Wizard, on the Select server roles pages, under Server Roles, and select the Web Server (IIS) role. The Add features that are required for Web Server (IIS)? dialog appears. Click Add Features.
3. Click Next.
4. On the Select Features page, under Features, select .NET Framework 4.6 Features. Expand the .NET Framework 4.6 Features folder and select ASP.NET 4.6. (Note: the version number may vary.)
5. On the Role Services page, select Application Development. Expand the Application Development folder and select .NET Extensibility 4.6, ASP.NET 4.6 (Note: the version number may vary.) and (if available for your Windows Server version) WebSocket Protocol.
a. When ASP.NET 4.6 is selected, another dialog may appear indicating that ISAPI Filters and ISAPI Extensions must also be installed. Click Add Features in this dialog.
Click Next through the remainder of the Wizard pages, then click Install to complete.
To install IIS and enable ASP.NET on Windows 10, 8, or 7:
1. Click the Start Menu.
2. Click Control Panel.
3. Click View by: Category on the top right.
4. Click the Programs heading.
5. Under Programs and Features, click Turn Windows Features on or off.
6. In the Windows Features dialog, select the Internet Information Services checkbox.
7. Expand the Internet Information Services folder, then expand the World Wide Web Services folder, and then expand the Application Development Features folder.
8. Select the .NET Extensibility checkbox, the ASP.NET checkbox, and WebSocket Protocol checkbox. (Note: the ISAPI Extensions and ISAPI Filters checkboxes are selected).
9. Click OK to install.
1.2 Install Relyence
To begin installation of the Relyence On-Premise solution, double-click on the Relyence.exe executable installation file.
The Relyence installation dialog appears with the Install button at the bottom. Click Install to begin the installation process.
The next dialog appears asking you to allow the Relyence installation to proceed with the question, "Do you want to allow this app to make changes to your PC?" Click Yes to continue.
Part 1: Installing Microsoft SQL Server
This may take a few minutes to complete. You will see the Microsoft SQL Server progress bar. Once the Microsoft SQL Server installation has completed, the second part of the installation process to install Relyence will begin.
Part 2: Installing Relyence
The Welcome to the Relyence Setup Wizard dialog appears. Click Next to continue.
The Relyence Corporation Terms of Service agreement appears. You must accept the terms to proceed. Select the I accept the terms in the License Agreement checkbox and then click Next.
The Destination Folder dialog appears to allow you to select the location where you wish to install your Relyence application. If you want to select a different installation location, click Change and select the desired location, otherwise leave the default location as is. Once the location is acceptable, click Next.
The Ready to install Relyence dialog appears. Click Install.
The Installing Relyence dialog along with a status bar indicator appears as the installation proceeds. This may take a few minutes. When the installation has completed, the Next button will be activated. Click Next.
The Completed the Relyence Setup Wizard dialog appears to indicate that Relyence installation is complete. Click Finish.
The Installation Successfully Completed dialog appears. Click Close.
1.3 Update the Web.config file
If you are using the Relyence installed Microsoft SQL Server, skip this step.
If you are using your own Microsoft SQL Server installation, you will need to update the Web.config file accordingly. To do this:
1. Locate your Web.config file. It is installed by default under the Program Files\Relyence directory. If you entered a different destination directory during installation, you will find the Web.config file there.
2. Copy the Web.config file to your Desktop.
3. Open the copy of the Web.config file with Notepad.
4. Locate the following section in the Web.config file:
Note:
- If you originally installed Relyence prior to Relyence 2022 Release 2 (July 2022), your password will likely be !R3ly3nc3!
- If you originally installed Relyence with Relyence 2022 Release 2 (July 2022) or later, your password is likely !R3ly3nc3!R3ly3nc3!
<connectionStrings>
<add name="memberdb" providerName="System.Data.SqlClient" connectionString="Data Source=.\Relyence;Database=memberdb;User Id=sa;Password=!R3ly3nc3!" />
<add name="appdb" providerName="System.Data.SqlClient" connectionString="Data Source=.\Relyence;Database=appdb;User Id=sa;Password=!R3ly3nc3! " />
</connectionStrings>
5. The strings shown in bold above will have to be modified to successfully connect to your existing SQL Server installation.
a. .\Relyence is the location of the existing SQL Server Instance that Relyence is going to connect to.
i. If you are connecting Relyence to the Default SQL Server instance on the same server where Relyence is installed, remove Relyence so your connection string appears as Data Source=.\.
ii. If you are connecting Relyence to a Named SQL Server instance on the same server where Relyence is installed, change Relyence to be the name of your SQL Server Instance so your connection string appears as Data Source=.\MyInstance.
iii. If you are connecting Relyence to the Default SQL Server Instance on another server, set this to your server name so your connection string appears as Data Source=MyServer. Additionally, please review our instructions to be sure remote TCP access is allowed to your SQL Server Instance.
iv. If you are connecting Relyence to a Named SQL Server Instance on another server, set this to your server name and SQL Server Instance name so your connection string appears as Data Source=MyServer\MyInstance. Additionally, please review our instructions to be sure remote TCP access is allowed to your SQL Server Instance.
b. memberdb and appdb are the names of the databases that Relyence will create. You can leave these strings as they are, or replace them with other names if you prefer, such as relyencememberdb and relyenceappdb to differentiate them from other databases in your SQL Server Instance.
c. sa is the database administrator account username. This can be left as is, or replaced with another administrator level account that has permission to Add, Delete, and Edit databases and database tables within your SQL Server Instance. Note that this account must use Mixed Mode SQL Server Authentication to log into your SQL Server Instance. If you instead would like to use Windows Authentication, please review our instructions to use Windows Authentication for SQL Server.
d. !R3ly3nc3! or !R3ly3nc3!R3ly3nc3! must be changed to the password for the database administrator account you are using.
6. Save your edited Web.config file on your Desktop.
7. Copy the newly edited Web.config from your Desktop to your installation directory to replace the Web.config file there.
1.4 Enable Relyence to Always Run and set Idle Time-out
Though not required, this step is highly recommended for optimal performance. However, if you use Relyence FRACAS Notifications, this step is required.
1. Open Internet Information Services (IIS) Manager.
2. Select Application Pools from the Connections pane.
3. Select Relyence from the Application Pools pane.
4. Click Advanced Settings... from the Actions pane to bring up the Advanced Settings dialog.
5. Under the General heading, set Start Mode to AlwaysRunning.
6. Under the Process Model heading, set Idle Time-out (minutes) to 0.
7. Click OK.
8. In the Connections pane, expand the Sites section, and then expand the Default Web Site section if not expanded. Select Relyence under the DefaultWeb Site section.
9. Click Basic Settings... from the Actions pane to bring up the Edit Application dialog.
10. Select the Enable Preload checkbox.
11. Click OK.
1.5 Reinstall ASP.NET for Windows 7
If you are installing Relyence on Windows 7, this step is required. Otherwise, skip this step.
1. Click Start and search for cmd.
2. Right click on cmd in the search results and select Run as Administrator.
3. Type the following command:
c:\Windows\Microsoft.NET\Framework\v4.0.30319\aspnet_regiis -i
Note: Due to the dash in this command, you may have to manually type it.
4. Hit Enter.
5. Wait for the installation of ASP.NET to complete.
6. Close the cmd window.
2. Setting up Relyence On-Premise
2.1 Start up Relyence
Once installation is complete, you must sign in and activate your Relyence license.
In your browser, navigate to the location of your Relyence installation (typically http://<yourservername>/Relyence), or double-click on the Relyence desktop icon. The first time you start up Relyence, the Welcome to Relyence! dialog appears.
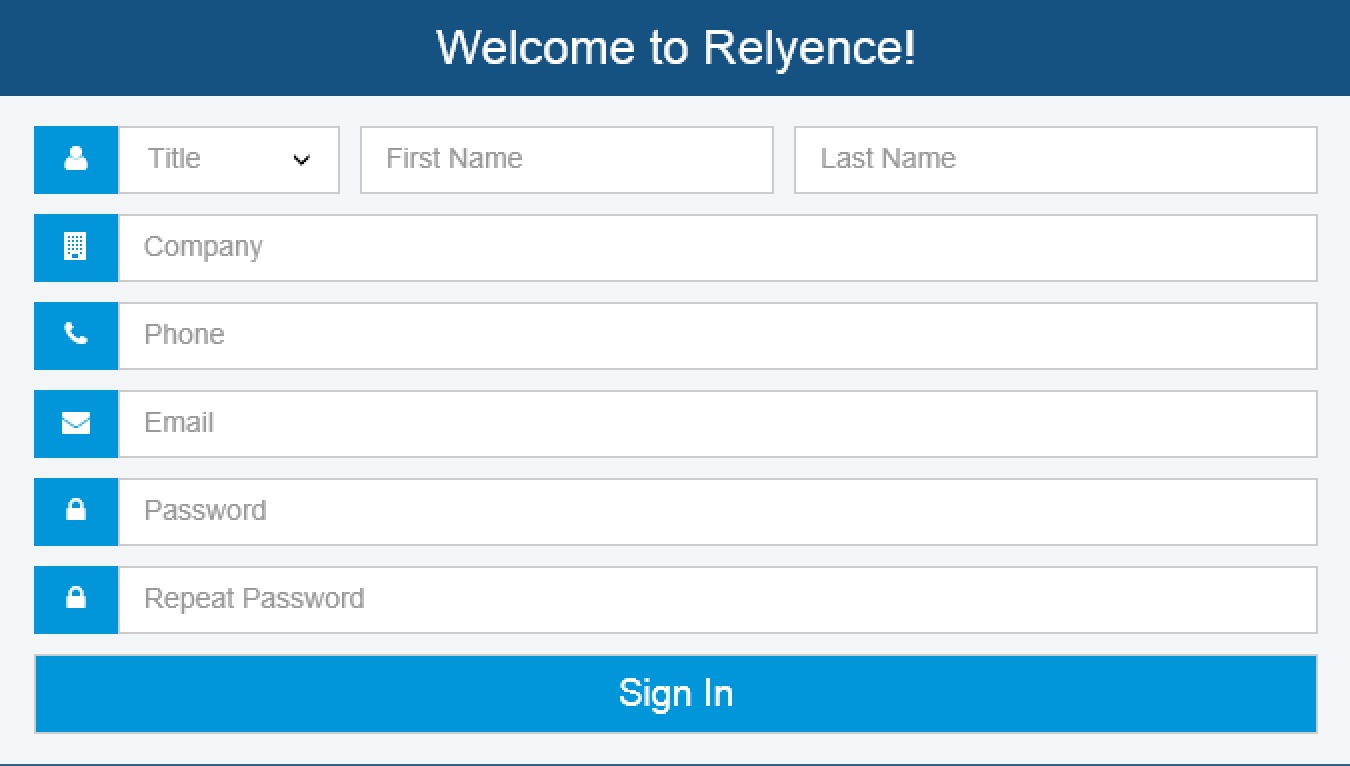
Enter the information. This information will be used to establish your Relyence administrator account. Click Sign In when complete. Your initial sign in may take a few minutes as your database is configured and set up for the first time.
2.2 Activate your Relyence License
You will not be able to access Relyence until you successfully activate your Relyence License.
Once the initial sign in is complete, the Activate License dialog appears.

A License Request Code will be automatically generated and filled in for you. Copy the License Request Code and send it via email to support@relyence.com. Once we receive your request, you will receive an email in return with your License Activation Code. Copy the License Activation Code from the email and paste it into the License Activation Code field and click Activate. Please note that your License Activation Code is unique to you and can only be used once. It is not transferable.
Once your license has been successfully activated, the "License activation successful" message will appear.

Click Close to close the Activate License dialog.
When activation is complete, the My License dialog will display your active Relyence licenses based on your purchase. Click Close to close the My License dialog.
The Welcome to Relyence! dialog appears, and you can begin using your new Relyence product. Click Close to close the Welcome dialog.
2.3 Recycle Relyence Application Pool
If you use Audit Trail in Relyence FRACAS or Relyence FMEA, this step is required. Otherwise, skip this step.
1. Open Internet Information Services (IIS) Manager.
2. Select Application Pools from the Connections pane.
3. Select Relyence from the Application Pools pane.
4. Click Recycle from the Actions pane.
2.4 Configure Your Mail Server
If you are not planning to use Relyence email or Notification features, skip this step.
If you are planning to use any emailing features built into Relyence, such as emailing users to setup their account passwords, or using the FRACAS Notifications feature, you must configure your mail server. The function to configure your mail server is found under the Account Management dropdown menu in the upper right corner of the Relyence header bar.
Go to Configuring your Mail Server for details on setting up your mail server.
2.5 Add in your Relyence Team Members
If there are multiple users for your Relyence license, you will need to set up the user accounts. For information about managing your Relyence users and groups, go to Managing your Users, Groups, and Permissions.